Fix a Door That Sticks or Won’t Latch: A Beginner’s Diagnosis Guide
A door that sticks, scrapes, or refuses to latch feels like a house problem that needs a carpenter. Usually it isn’t. Most sticking doors are just slightly out of alignment, and the fix is often tightening a few screws. Houses settle, humidity swells wood, hinges work loose over years. None of that is damage. It’s adjustment.
The one rule that matters here: diagnose before you fix. Beginners tend to jump straight to sanding or planing the door edge, which is the one fix you can’t undo. Work through the checks below in order, and stop at the first one that solves it.
Tools & materials
Keep this short list nearby; you may only need the first two:
- A screwdriver that fits your hinge screws snugly
- A pencil
- Longer replacement hinge screws
- Thin cardboard (a cereal box works perfectly) for shims
- Sandpaper, only if you reach the last resort
- Paint or clear sealer to protect any wood you sand
Step 1: Diagnose — where is it actually sticking?
Open and close the door slowly a few times and watch and listen.
- Find the contact point. Look for scuffed paint, shiny rubbed spots, or scraped wood on the door edge and frame. That worn spot tells you exactly where the door is hitting.
- Do the pencil test. If you can’t see a rub mark, lightly shade the door’s edges with a pencil, close the door gently a few times, then look where the pencil has transferred or smudged. That’s your contact point.
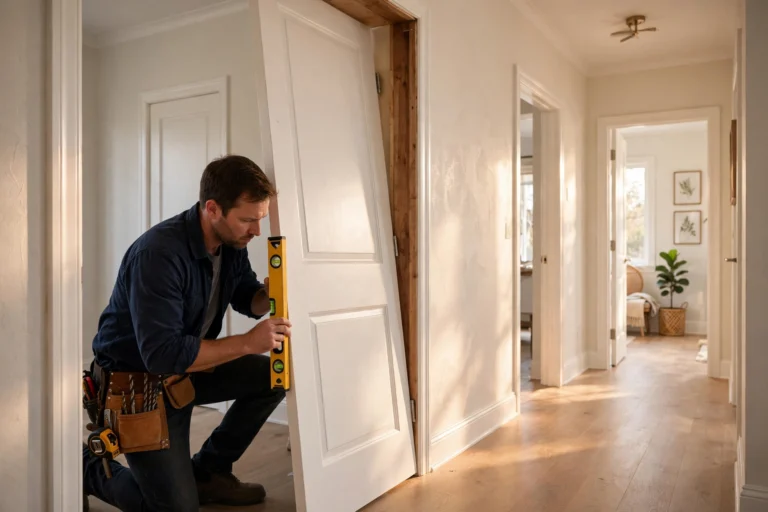
- Check the gaps. With the door closed, look at the gap running around it. A healthy door has a fairly even gap — roughly the thickness of a nickel — on the top and both sides. Wide at the bottom on the latch side and pinched at the top means sag. Even gaps but no latch means the strike plate is the likely problem.
- Check the latch itself. Close the door slowly and watch the latch bolt (the angled metal tongue on the door’s edge). Does it line up with the hole in the strike plate on the frame, or does it hit high, low, or just short? Note the direction — you’ll use this in Step 5.
Sum it up in one sentence: sticks top corner, gap tight at top, latch hits low. That sentence picks your fix.
Step 2: Tighten the hinge screws
This fixes a surprising number of sticking doors all by itself.
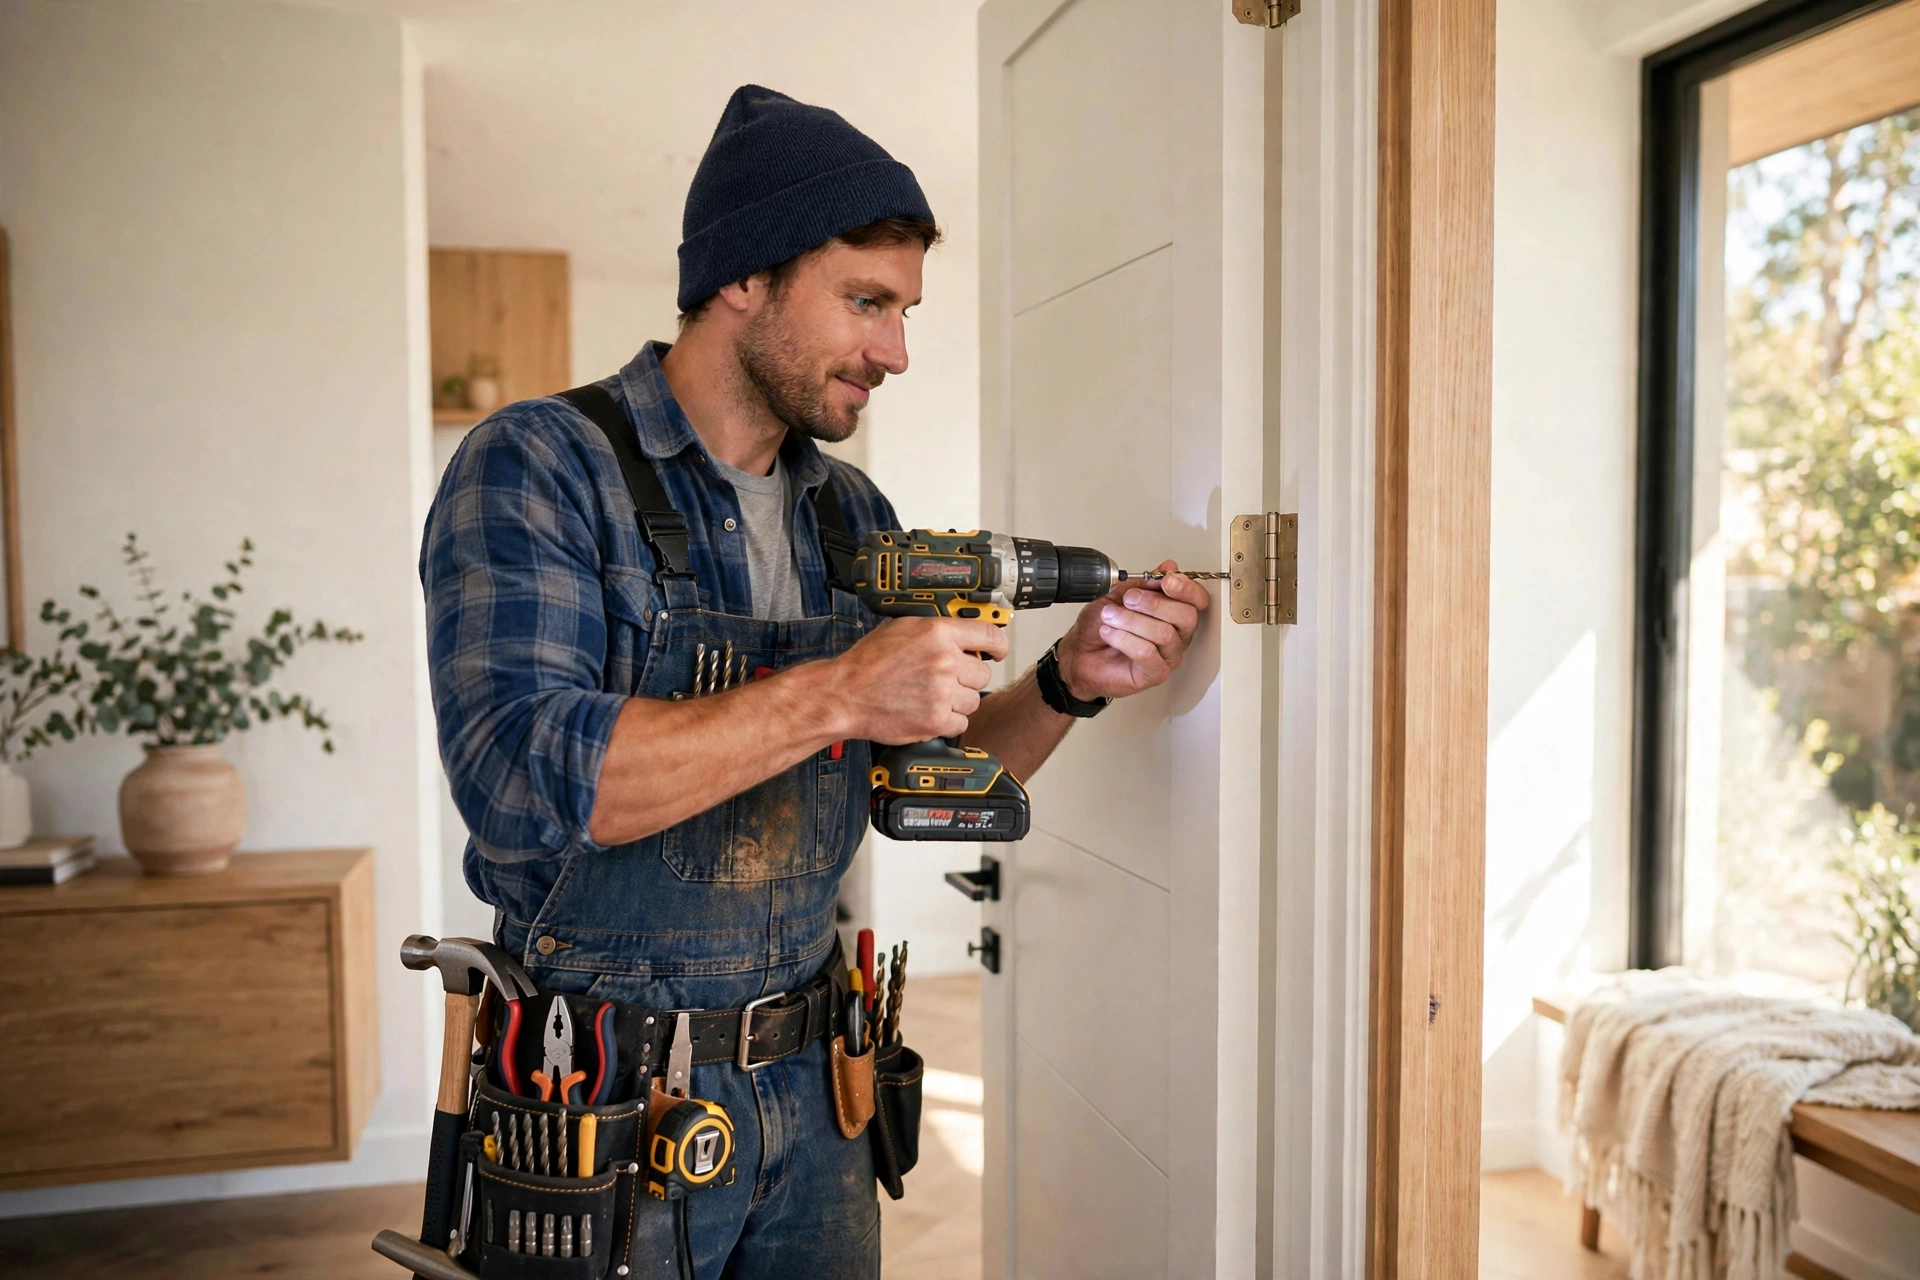
- With the door open, tighten every screw on every hinge, on both the door side and the frame side, using a screwdriver set. Give each a firm, snug turn.
- Pay special attention to the top hinge. It carries most of the door’s hanging weight and is usually the first to loosen.
- Close the door and test. If a screw spins freely without gripping, it’s stripped — move to Step 3 for that hinge.
Five minutes, zero cost, zero risk. Always do this step even if you suspect another cause.
Step 3: The long-screw fix for a sagging door
If the top of the door sags away from its frame, short hinge screws may not hold, because they only bite into the thin door frame. The fix is to reach the solid framing wood behind it.
- Open the door and support it so it doesn’t shift (a folded magazine under the bottom edge works).
- Remove one screw from the top hinge’s frame side.
- Replace it with a 3-inch wood screws screw of the same thickness. Drive it in slowly; it will pass through the frame and bite into the wall framing behind, pulling the hinge — and the door with it — snugly back toward the frame.
- If the sag is stubborn, repeat with a second screw in the same hinge.
- Close and test the gaps again. You’ve often just lifted the door’s latch side back to where it belongs, which can fix both sticking and latching in one move.
Step 4: Shim a hinge to nudge the door the other way
Sometimes the door sticks not from sag but because it sits slightly crooked, and you need to push one corner a fraction of an inch. Cardboard shims do this in tiny, reversible increments.
- Decide the direction. If the door sticks at the top on the latch side, shimming the bottom hinge outward pushes the top of the door slightly toward the hinge side, opening that pinched gap. If it sticks at the bottom, shim the top hinge instead.
- Loosen (don’t fully remove) the screws on the frame side of that hinge, and slide a strip of thin cardboard behind the hinge leaf.
- Tighten the screws back down over the shim.
- Test the door. Need more movement? Add a second layer of cardboard. Need less? Trim it back. Nothing is cut, nothing is permanent.
Step 5: Adjust the strike plate for a latch that won’t catch
If the door closes fine and the gaps are even, but the latch clicks against metal instead of dropping into its hole, the strike plate position is off by a hair.
- Confirm the misalignment. Put a dab of lipstick, toothpaste, or marker on the end of the latch bolt, close the door, and open it again. The mark on the strike plate shows exactly where the bolt is landing — high, low, or off to one side.
- Small miss (a millimeter or two): File the inside edge of the strike plate’s hole slightly larger in the direction of the miss with a small metal file.
- Bigger miss: Remove the strike plate screws, reposition the plate in the direction it needs to move, and reinstall. Fill old screw holes with toothpicks and wood glue if the screws won’t grip in the new position, and trim a sliver of wood from the mortise (the shallow recess the plate sits in) so the plate sits flush.
- Retest: the latch should engage with a gentle push, not a shoulder shove. A replacement strike plate with an extended lip can also help a door whose bolt consistently lands just short.
Step 6 (last resort): Sand a swollen edge
Only do this if you’ve confirmed the door itself has swollen — common with humidity on bathroom doors — and the hinges, screws, and strike plate are all in good shape. Wood removed cannot be put back, which is why planing and sanding come last.
- Mark the exact sticking section with your pencil test from Step 1. Work only on that section.
- Sand the marked area with coarse, then medium sandpaper assortment. A block plane removes wood faster, but beginners should default to sanding — it’s slower and much harder to overdo.
- Test-fit after every few passes. Stop the moment the door closes cleanly with an even gap. Chasing “a little more clearance” is how doors end up with a drafty, rattly gap in winter when the wood shrinks back.
- Seal the bare wood — do not skip this. Raw, freshly sanded wood drinks in moisture and will swell again next humid season. Brush the sanded edge with matching paint or a clear clear wood sealer and let it dry fully.
Common mistakes
Planing first. The single most common beginner error. Most sticking doors need a screwdriver, not a saw. Once wood is gone, it’s gone.
Forgetting that humidity changes with the seasons. A door that sticks in August may swing perfectly in January. Be conservative about removing wood in humid months — take off the bare minimum.
Tightening screws with the wrong-size driver. A loose-fitting screwdriver chews up screw heads. If the driver wobbles in the slot, stop and find the right size.
Ignoring a stripped screw. A screw that spins forever is holding nothing. Either use the long-screw fix or fill the hole (toothpicks plus wood glue, dried overnight) and re-drive it the next day.
Skipping the sealer after sanding. Unsealed edges re-swell. This one step is the difference between a permanent fix and a yearly chore.
Time and difficulty
Diagnosis: 10 minutes. Tightening screws: 5 minutes. Long-screw fix: 15 minutes. Shimming: 15–20 minutes. Strike plate adjustment: 20–30 minutes. Sanding and sealing: 45 minutes to an hour, plus drying time.
Difficulty: 1 to 2 out of 5 for Steps 1–5 — if you can use a screwdriver, you can do them. Step 6 is a 3 out of 5. Overall, this is one of the most satisfying fixes in a house: a door that has annoyed you daily, solved before lunch.
When to call a pro
These adjustments handle normal settling and wear. Get help if:
- The door frame itself is visibly cracked, split, or out of square by a lot — that’s a framing issue, not an adjustment issue.
- The sticking appeared suddenly along with cracks in the wall above the door, or several doors and windows started sticking at the same time. That pattern can point to foundation movement worth having assessed.
- The floor under the door is heaving, sloping noticeably, or feels spongy.
- It’s a fire-rated door (common between a house and an attached garage) — these have specific clearance requirements and shouldn’t be planed.
- You’ve worked through every step here and the gap problem keeps getting worse over weeks.
Quick-start recap
- Diagnose first: rub marks, pencil test, gap check, latch check.
- Tighten all hinge screws — this alone fixes many doors.
- Sagging? One long screw in the top hinge pulls the door back up.
- Crooked? Cardboard shims behind a hinge nudge it in reversible steps.
- Won’t latch? Mark the bolt, then adjust the strike plate to meet it.
- Sand or plane only as a last resort — and always seal the bare wood after.
Work down the list and stop early. Most doors surrender at Step 2.
As an Amazon Associate, we earn from qualifying purchases.