Weatherstrip Doors and Windows: Stop Drafts in an Afternoon
You know the spot. The chair by the front door nobody sits in during winter. The side of the couch where you always need the blanket. That cold ribbon of air across your ankles when you walk past a closed window. Drafts feel like a big, expensive problem — something involving contractors and words like “energy audit” — but most of them are just worn-out seals, and seals are one of the cheapest, most forgiving repairs in a whole house.
This guide starts where every good draft fix starts: not at the store, but at the draft itself, finding exactly where the air is coming in. Then we seal doors first (they leak the most), then windows. No special tools, and everything here can be removed or redone if you do not love your first attempt. A typical house’s worst offenders can be handled in a single afternoon.
Tools & materials
- A stick of incense or a candle, and a lighter (for finding leaks)
- A dollar bill (yes, really — it is a diagnostic tool here)
- Scissors or a utility knife, a tape measure, and a cloth for cleaning
- Adhesive foam tape in a thickness that suits your gaps
- V-strip (tension seal) for door and window edges
- A door sweep for the bottom of exterior doors
- Replacement kerf seal if your door frame has a groove for it
- Rope caulk and window insulation film for problem windows
Buy after you test, not before. The tests below tell you which gaps are wide, which are hairline, and which seals have simply gone flat — and each one wants a slightly different product.
Step 1: Find the leaks first
Sealing a door that is not leaking wastes an hour; missing the one that is wastes a winter. Spend fifteen minutes testing.
- Pick your moment. A cold, windy day is ideal, with the house warmed up inside. The bigger the difference between inside and outside, the easier drafts are to feel.
- Do the hand test. Close the door or window. Run your palm slowly around the entire frame, an inch or two from the surface, and feel for cool air moving. Mark every spot with painter’s tape. Pay special attention to corners and to the latch side of doors — the classic leak points, where seals compress unevenly and frames flex most.
- Use smoke for the sneaky ones. Light the incense or candle and hold it near the frame, moving slowly. Where the smoke wavers, flattens, or gets pulled or pushed, air is moving. This finds leaks your hand misses, especially along window rails and the top of door frames.
- Run the dollar-bill test on doors. Close the door on a dollar bill so half of it sticks out. Try to pull the bill free. If it slides out with almost no resistance, the seal at that spot is not touching the door at all — that section needs attention. Test at several points around the door: top, both sides, and especially near the latch and the bottom corners.
Now you have a map. Fix doors first, in this order: bottom, then sides and top.
Step 2: Seal the door
- Add or replace the door sweep. The bottom gap is usually the biggest leak of all. A adhesive door sweep attaches to the inside face of the door and drags a flexible fin lightly along the threshold. Measure the door width, cut the sweep to fit, clean the surface, and stick or screw it on so the fin just kisses the floor — pressing hard makes the door drag and wears the sweep out.
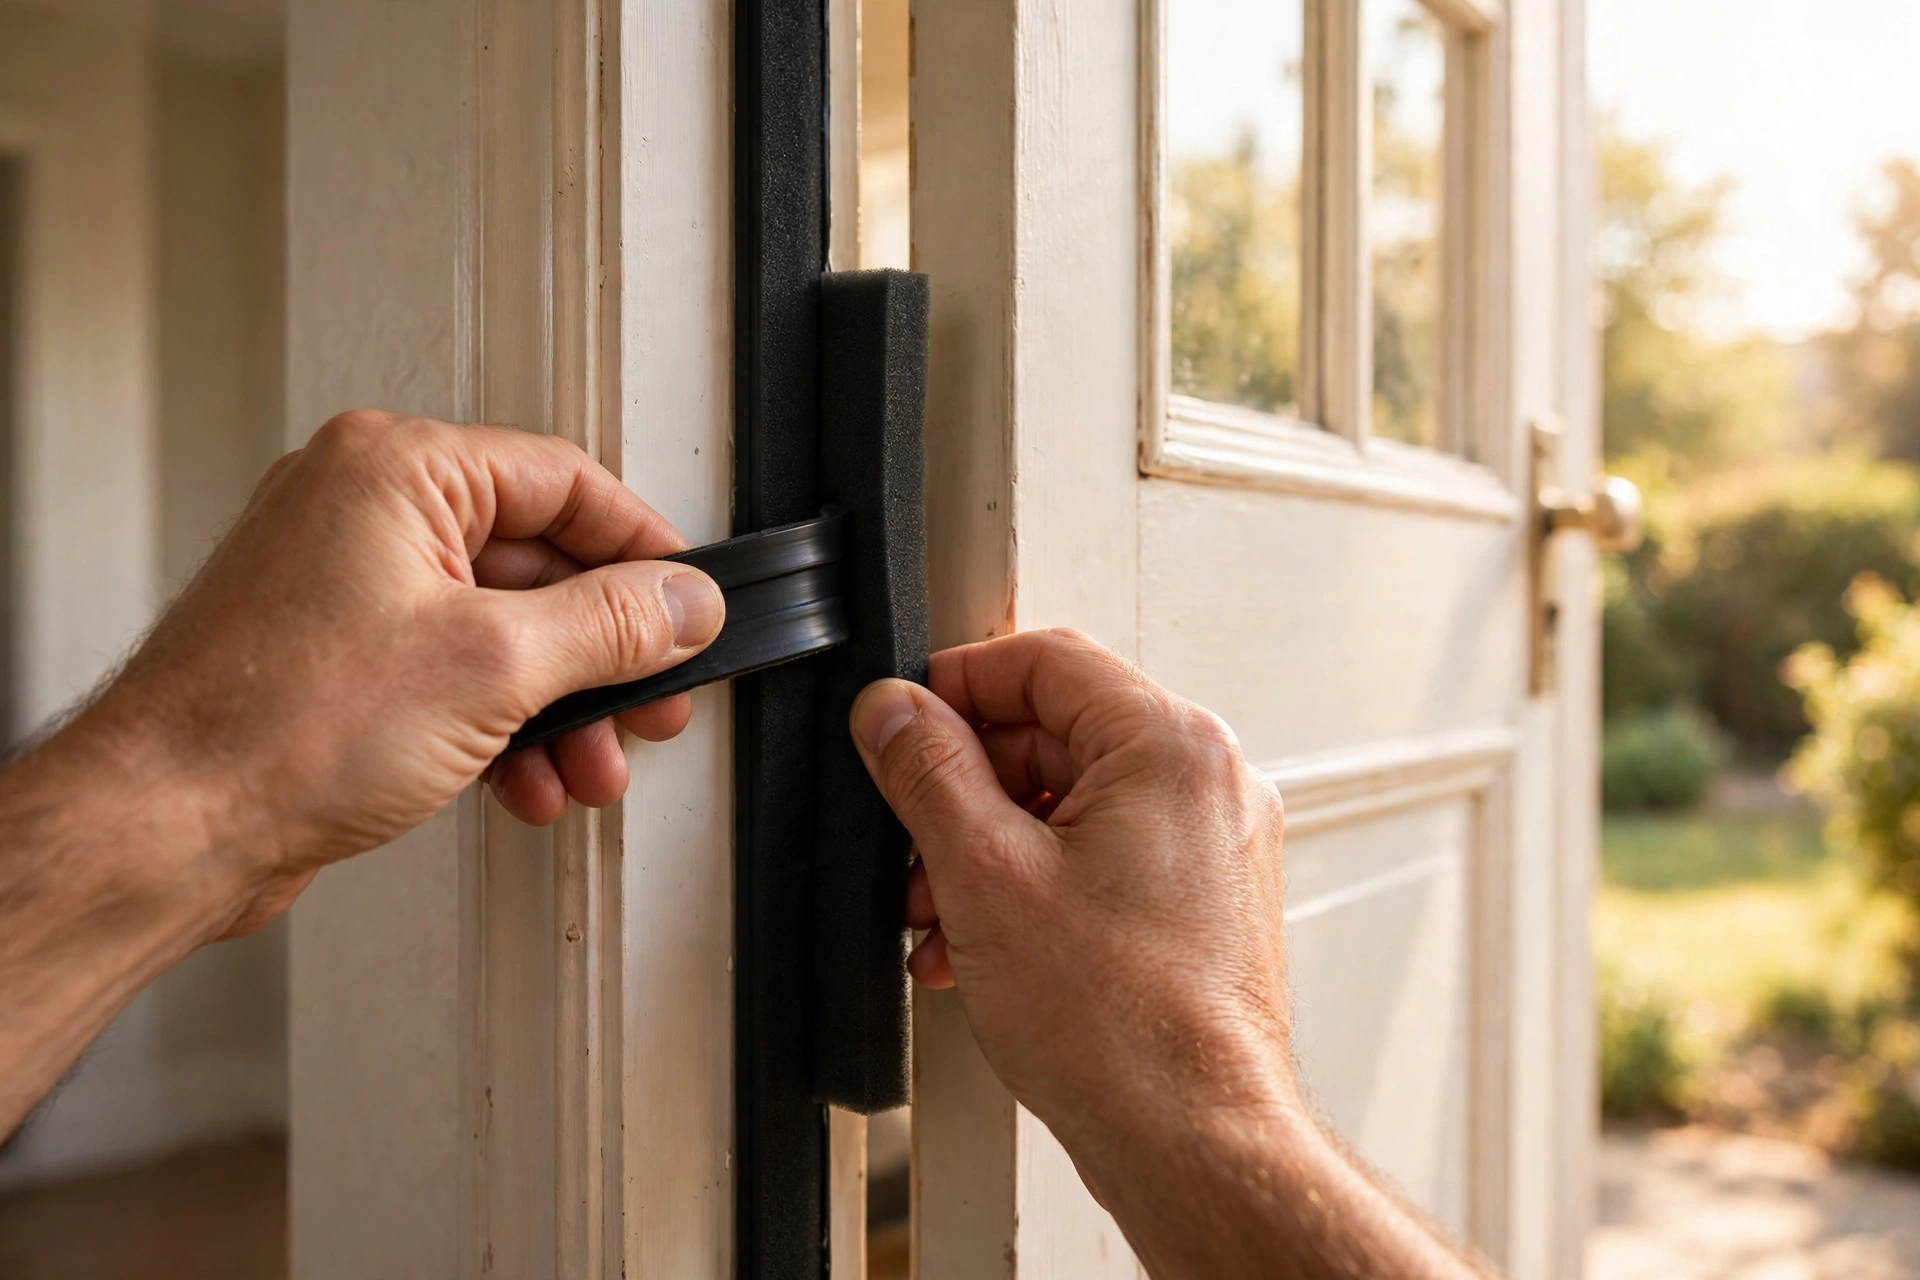
- Apply adhesive foam tape for uneven gaps. Where the dollar bill slid freely but the gap varies — wider in one corner, tight in another — foam tape is forgiving because it compresses. Clean the frame stop where the door closes against it, then press self-adhesive foam weatherstripping tape into place in one continuous run per side. Close the door and retest with the bill: you want a firm, even tug everywhere.
- Use V-strip where you want a neater, longer-lasting seal. This folded strip springs open to fill the gap and is nearly invisible once installed. A V-strip tension seal works beautifully along the top and latch side of a door, and on double-hung window channels. Cut it to length, fold it into its V, and press or tack it into the frame so the open side of the V faces the incoming weather.
- Replace a worn kerf seal if your frame has one. Many modern door frames have a narrow groove (the kerf) with a foam-filled seal pressed into it. If yours is cracked or stays flattened when you poke it, pull the old seal out by hand and press new kerf door seal replacement in with your fingers — no adhesive, no fasteners, the cleanest-looking fix of all. Corners matter most: butt the ends tightly so no gap opens at the turn.
Step 3: Seal the windows
- Foam tape for casement and awning windows that close against a frame — apply it just as you did on the door, on the surface the sash closes against.
- V-strip or foam in double-hung channels where the sash slides, cut carefully so the window still moves freely.
- Rope caulk for seasonal seals. For a window you do not open in winter, press removable rope caulk — a soft, putty-like cord — into the seam between sash and frame with your fingertips. It seals completely, never hardens, and peels off cleanly in spring. It is the ideal renter-friendly and old-window fix.
- Insulation film for the worst offenders. If one window is single-pane, rattly, or still cold after sealing, a shrink-film kit over the whole frame traps a still-air layer and makes a dramatic difference. Apply the tape, press the film on loosely, and tighten it drum-smooth with a hair dryer. Reserve this for the one or two worst windows.
When you finish, repeat the smoke test around your work. Watching the smoke hang still is oddly satisfying — and it is your proof.
Common mistakes
- Sealing before testing. Guessing which door leaks usually means fixing the wrong one beautifully.
- Choosing foam tape that is too thick. The door then will not latch, so the tape gets torn off and the whole project gets blamed. Match the tape thickness to the gap you measured with the dollar bill.
- Ignoring corners and the latch side. Straight runs are easy; leaks live at the turns. Slow down there.
- Gluing over dirt. Adhesive seals fail on dusty, greasy frames. A two-minute wipe-down is the difference between a seal that lasts years and one that peels by February.
- Slamming the sweep into the floor. A sweep should brush the threshold, not plow it.
How long it takes and how hard it is
Testing a whole home’s doors and main windows takes about fifteen to twenty minutes. Each door then takes twenty to thirty minutes to seal properly; each window, ten to twenty. Most beginners finish the worst offenders in two to three hours, start to finish. Difficulty is low, cost is modest, and every product here is removable — there is almost no way to make things worse, which makes this a perfect first repair.
When to call a pro
Call a window or door professional if a frame is rotted, cracked, or visibly out of square; if a door drags or will not latch even with no seal in the way; or if condensation is forming between the panes of a double-pane window — that means the sealed unit itself has failed, and no weatherstripping will fix it. Fog inside the glass and soft wood are pro territory. Everything else — the cold air, the moving curtain, the chilly chair — is yours.
Quick recap
- Test first: hand, smoke, and the dollar bill, on a windy day.
- Doors leak most — sweep the bottom, then seal sides and top.
- Foam tape for uneven gaps, V-strip for a neat durable seal, kerf seal if your frame has the groove.
- Windows: tape or V-strip for working windows, rope caulk for seasonal ones, film for the worst.
- Check corners and the latch side twice — that is where drafts live.
As an Amazon Associate, we earn from qualifying purchases.