How to Patch a Drywall Hole: Small Dings to Doorknob-Sized Damage
Drywall looks intimidating because it’s your actual wall, and nobody wants to make a hole bigger. Good news: drywall is famously forgiving. It’s basically thick chalk sandwiched between paper, designed to be cut, patched, and repainted. Almost every hole comes from something ordinary — a doorknob that swung too far, a picture hook that pulled out, furniture moved a little too enthusiastically. If you can spread peanut butter on toast, you have most of the skill you need.
The trick is matching the patch to the size of the hole. A pinhole and a doorknob-sized hole are not the same job, and using the wrong fix is where most beginners get frustrated.
Tools & materials
You don’t need much, and you may already own most of it:
- Lightweight spackle for the smallest fixes
- Self-adhesive mesh drywall patch for medium holes
- A small piece of scrap drywall and joint compound for larger holes
- Sandpaper in medium and fine grits
- A putty knife and a wider taping knife
- Stain-blocking primer and paint to match your wall
- Painter’s tape, a drop cloth, and a damp rag
Buy only what your size of hole actually needs.
First, size up your hole
Pinholes, nail pops, and small dings — pea-sized or smaller. Spackle territory. Five minutes of work.
Medium holes — roughly 1 to 4 inches across. Too big for spackle alone to bridge without sagging or cracking later. These need a patch with structure behind it.
Large holes — bigger than about 4 inches, including doorknob damage. These need a real piece of drywall fitted in, supported so it doesn’t flex.
Be honest about which one you have. Spackle in a 3-inch hole will look fine for a week, then crack in a perfect circle. That’s not you failing — that’s the wrong material for the job.
Method 1: Spackle for pinholes and dings
- Clean the spot. Brush away loose paint or crumbly drywall with a dry rag. If a nail has popped out slightly, tap it just below the surface.
- Load your knife. Scoop a pea-sized amount of lightweight spackling paste onto a flexible putty knife. Less is more — excess just becomes sanding work later.
- Press and swipe. Press the spackle firmly into the hole so it fills completely, then swipe the knife across at an angle to scrape off the excess. You want the fill just barely proud of the wall, not a lump and not a dip.
- Let it dry fully. Lightweight spackle usually turns flat white when dry. Rushing this step is the number one reason small patches sink.
- Sand lightly. A few gentle passes with fine sandpaper until you can’t feel the edge with your palm. Wipe the dust off with a slightly damp rag.
Primer and paint come at the end — see the finishing section below, because it applies to every size.
Method 2: Self-adhesive mesh patch for medium holes
- Prep the hole. Trim away loose, torn paper or crumbled edges with a utility knife. The patch needs flat, solid wall to stick to. Sand a 2-inch ring around the hole lightly so compound will grip.
- Apply the patch. Center a self-adhesive mesh drywall patch over the hole and press it firmly, smoothing from the center outward so there are no bubbles or lifted corners.
- First coat of compound. Using a 6-inch taping knife, spread a thin layer of joint compound over the entire patch, pressing it through the mesh. Feather the edges out 2 to 3 inches beyond the patch. Two thin coats always beat one thick one.
- Dry, then sand lightly. Let it dry completely (compound lightens as it dries, usually overnight to be safe). Sand just enough to knock down ridges — don’t sand so hard you expose the mesh.
- Second coat, wider. Apply a second, slightly wider thin coat, feathering even farther out. Dry and sand again. Judge it by running your hand over it with your eyes closed. If you can feel where the patch is, paint will show it.
Method 3: California patch for large holes
A California patch (also called a hot patch) uses the drywall’s own paper facing as its tape, so you don’t need separate tape.
- Square up the hole. Trim the damage into a rough square or rectangle with clean edges. Straight edges are much easier to match.
- Cut your patch piece. Cut scrap drywall about 2 inches larger than the hole in both directions. On the back, score and snap away the extra gypsum border, leaving the front paper face intact as a 2-inch flange all the way around. Test-fit it — the gypsum plug should sit snugly in the hole with the paper flange flat against the wall.
- Butter the flange. Spread a thin layer of joint compound around the hole on the wall, and on the paper flange itself.
- Set the patch. Push the plug into the hole and smooth the paper flange into the compound, working out air bubbles from the center outward with your taping knife.
- Coat, dry, repeat. Once set, treat it like Method 2: thin coats feathered well beyond the patch, drying and light sanding between coats, usually two to three total.
Alternative for very large or soft spots: if the surrounding wall flexes when you press it, cut the hole back to a neat rectangle, screw a small piece of wood backing inside the wall cavity first, then screw a fitted drywall piece to that backing. A cut-in patch with backing like this is a few extra minutes and makes the repair rock solid.
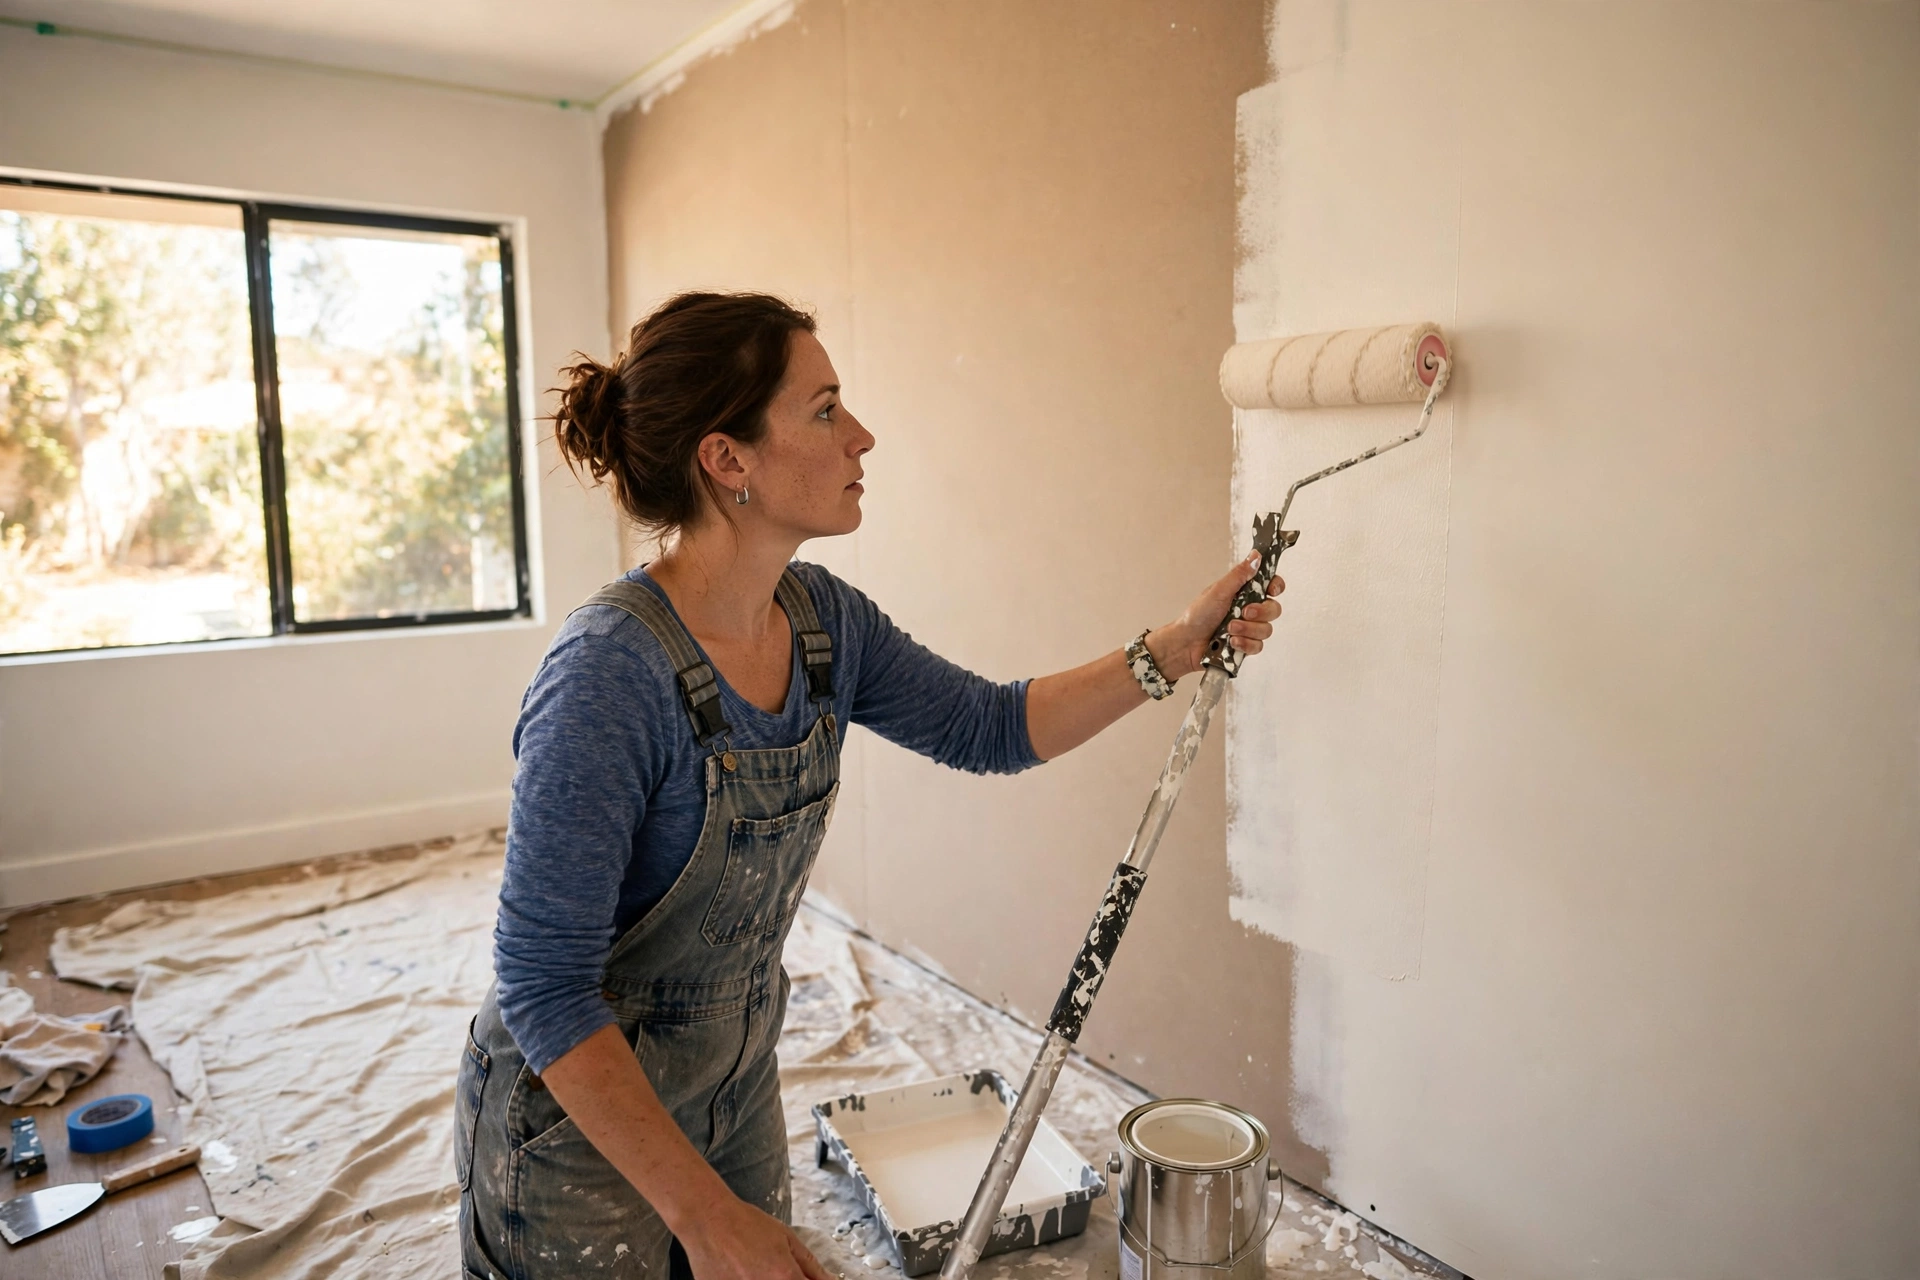
The finishing step everyone skips: primer
Joint compound and spackle are porous. Paint soaks into them differently than into the painted wall around them, so even with perfectly matched paint, an unprimed patch shows up as a dull, flat spot. Painters call this “flashing,” and it’s not a paint problem — it’s a skipped primer problem.
- Once your final coat is sanded smooth and dust is wiped away, roll or brush stain-blocking primer over just the patched area, feathering slightly past its edges.
- Let the primer dry per the can’s directions.
- Paint the patched area, then, for the most invisible result, roll one full coat over that whole wall section. A touch-up in the middle of a wall almost always shows at certain angles of light, even from the same can.
Common mistakes
One thick coat of compound. Thick coats shrink, crack, and take forever to dry. Thin coats are faster in total, even with drying time between them.
Sanding too aggressively. You’re smoothing, not sculpting. If you sand through to the mesh or patch paper, you have to recoat. Use light pressure and check with your hand often.
Skipping the dust wipe. Compound dust left on the wall makes primer and paint gritty. A damp rag after sanding is not optional.
Painting without primer. The most common reason a smooth patch still looks wrong.
Rushing dry time. Compound that feels dry on the surface can still be damp underneath. Painting over it can bubble later. When in doubt, wait until tomorrow.
Time and difficulty
Small dings: about 10 minutes of hands-on work, plus drying time. Genuinely beginner-easy. Medium holes: about 20 minutes of hands-on work spread over two days, mostly waiting for coats to dry — the skill is patience, not precision. Large holes: 45 minutes to an hour of hands-on work, also spread over two days. Moderate; your first California patch may not be perfect, and that’s fine — you can always add another thin coat.
Difficulty overall: 2 out of 5. Nothing here is permanent until you paint.
When to call a pro
Patching the surface is a beginner job. Call in help if:
- The damage is from an ongoing water leak — fix the source first and have hidden damage checked, or you’ll be patching the same spot again in a month.
- The hole is very large (bigger than a dinner plate), or the wall feels soft and spongy well beyond the visible hole.
- There’s extensive mold growth on or around the damaged area.
- The damage is on a ceiling and involves sagging.
- You uncover anything unexpected inside the wall cavity. Stop, leave it alone, and get it looked at.
Quick-start recap
- Match the method to the size: spackle for pinholes, mesh patch for medium, California patch for large.
- Thin coats of compound, feathered wide, with light sanding between each.
- Wipe away dust after every sanding.
- Always prime the patch before painting — unprimed patches flash.
- For invisible results, paint the whole wall section, not just the spot.
That hole that has been bothering you every time you walk past it is genuinely an afternoon project, most of it drying time. Start small, work thin, and let each coat dry.
As an Amazon Associate, we earn from qualifying purchases.